发布时间:2020-01-16 18:44 浏览:

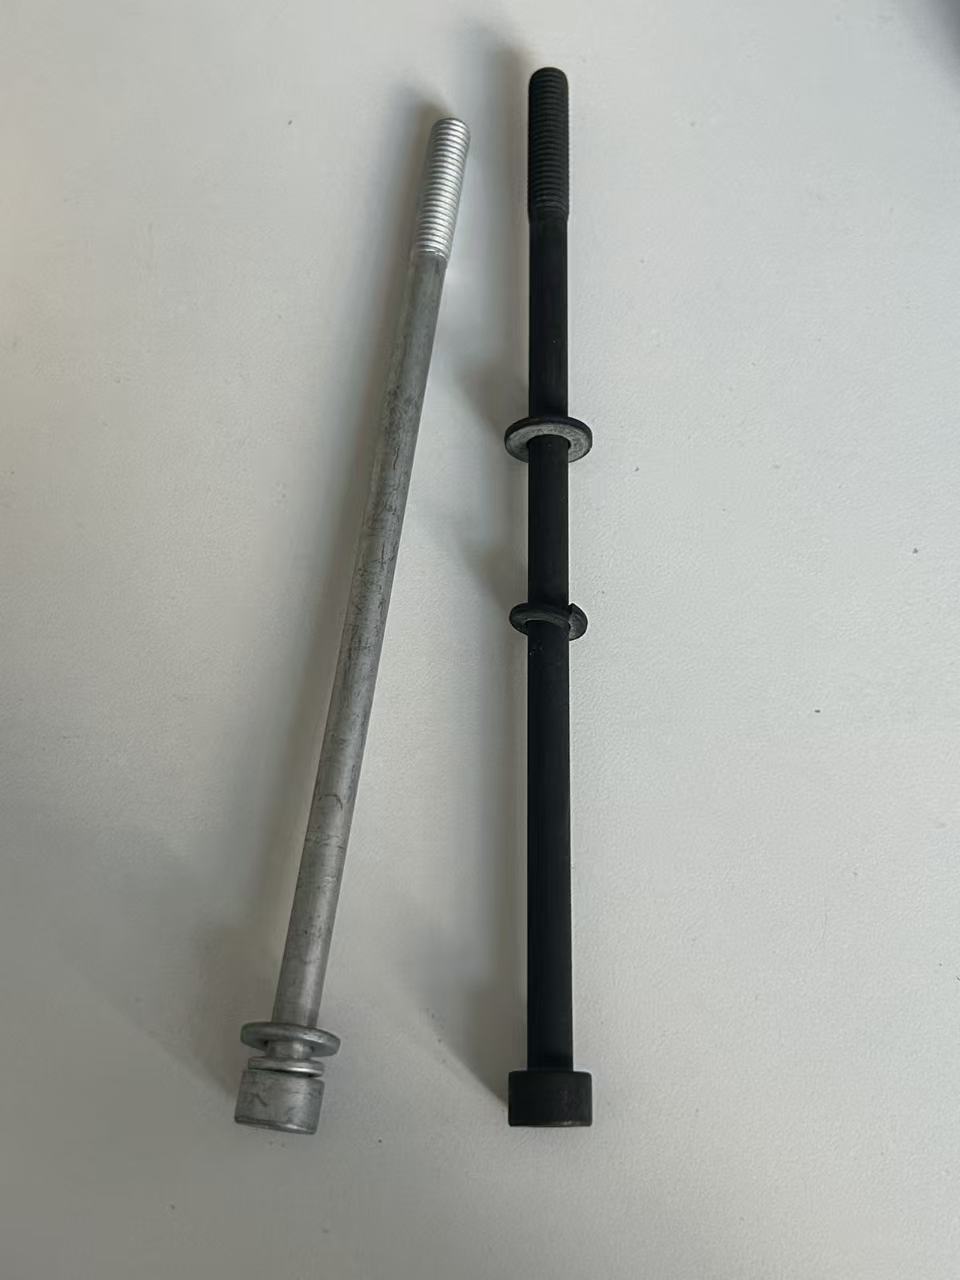
If you are lengthening a screw based on an existing mold, this is the most economical and fastest method.
How to proceed:
Replace Core Components: Only remachine and replace the parts that must be changed, mainly:
Lengthen the Core Pin: The core component that forms the screw shaft.
Modify the Cavity: Deepen the cavity that holds the screw. Sometimes the original cavity plate can be machined deeper directly.
Lengthen Ejector Pins: Ensure they can eject the longer screw.
Retain the Mold Base: Keep all structural parts of the mold: plates, guide pins, injection system (if the location remains the same), ejector plates, etc.
Why it saves money:
Saves Materials: Avoids repurchasing large steel blocks (plates, mold base).
Saves Machining Costs: Avoids remachining all the holes, slots, and water channels on the mold base, which is very time-consuming and expensive.
Saves Design Costs: No need for a completely new design of the entire mold.
Note:
A professional mold maker must assess whether the original mold base has sufficient strength and ejection stroke. If the screw is too long, the original mold base might not withstand the pressure or have sufficient stroke.
If a brand new mold is necessary, costs can be controlled from the design stage.
1. Choose a Rational Number of Cavities ("Multi-Cavity")
Don't blindly pursue the number of cavities. More cavities mean a larger, more complex, and more expensive mold.
Evaluate production needs and choose a cost-effective number of cavities. For example, start with "8 cavities" or "16 cavities" instead of jumping directly to "32 cavities". If demand increases later, a second mold can be made.
2. Adopt an "Interchangeable" Design
Design the core pins and cavities that determine the screw length as quick-change inserts.
Cost-Saving Logic: In the future, if you need to produce screws of different lengths, you only need to remake a set of inexpensive inserts without altering the entire expensive mold base. This is like one mold base serving multiple products, saving money in the long run.
3. Simplify Mold Structure
Communicate with the mold designer to, while meeting production requirements:
Use standard mold bases instead of custom ones.
Use standard components (e.g., standard ejector pins, standard screws).
Simplify cooling channels, ensuring cooling in key areas without pursuing extremely complex channels.
4. Select Appropriate Mold Steel
Not all components need top-grade, expensive steel.
Core Components (Core Pins, Cavities): Must use high-hardness, wear-resistant, rust-resistant quality steel (e.g., S136, NAK80).
Non-Core Structural Parts (Plates, Ejector Plates): Can use cost-effective steel that meets performance standards (e.g., P20, 45# Steel).
This requires balance based on the mold maker's advice; don't sacrifice mold life just to save money.
1. Provide Clear and Accurate Product Drawings
This is the most easily overlooked but crucial point. A vague or erroneous drawing leads to repeated mold modifications and soaring costs. Ensure your screw drawing has precise dimensions and clear technical requirements.
2. Communicate Fully with the Mold Maker
Clearly state your production volume expectations and quality requirements. If you are only doing small-batch trial production, the mold maker might recommend more economical steel and solutions.
Choose an experienced and reputable mold maker. A skilled craftsman can produce a good mold at a reasonable cost, while a low-quote but technically inadequate factory might produce a problematic mold, leading to greater losses from subsequent repairs and production downtime.
3. Consider Subsequent Production Costs
Sometimes spending a little more on the mold (e.g., adding a better cooling system) can significantly improve production efficiency (shorter cycle time, lower defect rate). From the perspective of the product's total lifecycle cost, this can actually be the more economical approach.

